Sunday 29 March 2015

Altered Heart for Easter...

Hello Again,

Well it's challenge time again over at That Craft Place Challenge Blog and this one had me a little flummoxed!  The theme is Easter or Spring.... but naughty Erin added the Spring after I had spent an age trying to come up with an Easter project as I don't make Easter cards!  But I'll get her back later and go back to telling you about my Easter make lol

So, Easter really does mean different things to different people, faiths and cultures and even between members of my family, so I decided to go with the more religious side as my OH and youngest daughter would love it and sometimes the rest of us forget that!

As I was way outside my comfort zone already, I decided to go for a mixed media make and really hang myself out there!  So here is my make incorporating The Cross on the hill...

Handmade twisted wire Cross, altered with paint and Pinflare Buff It

Front View

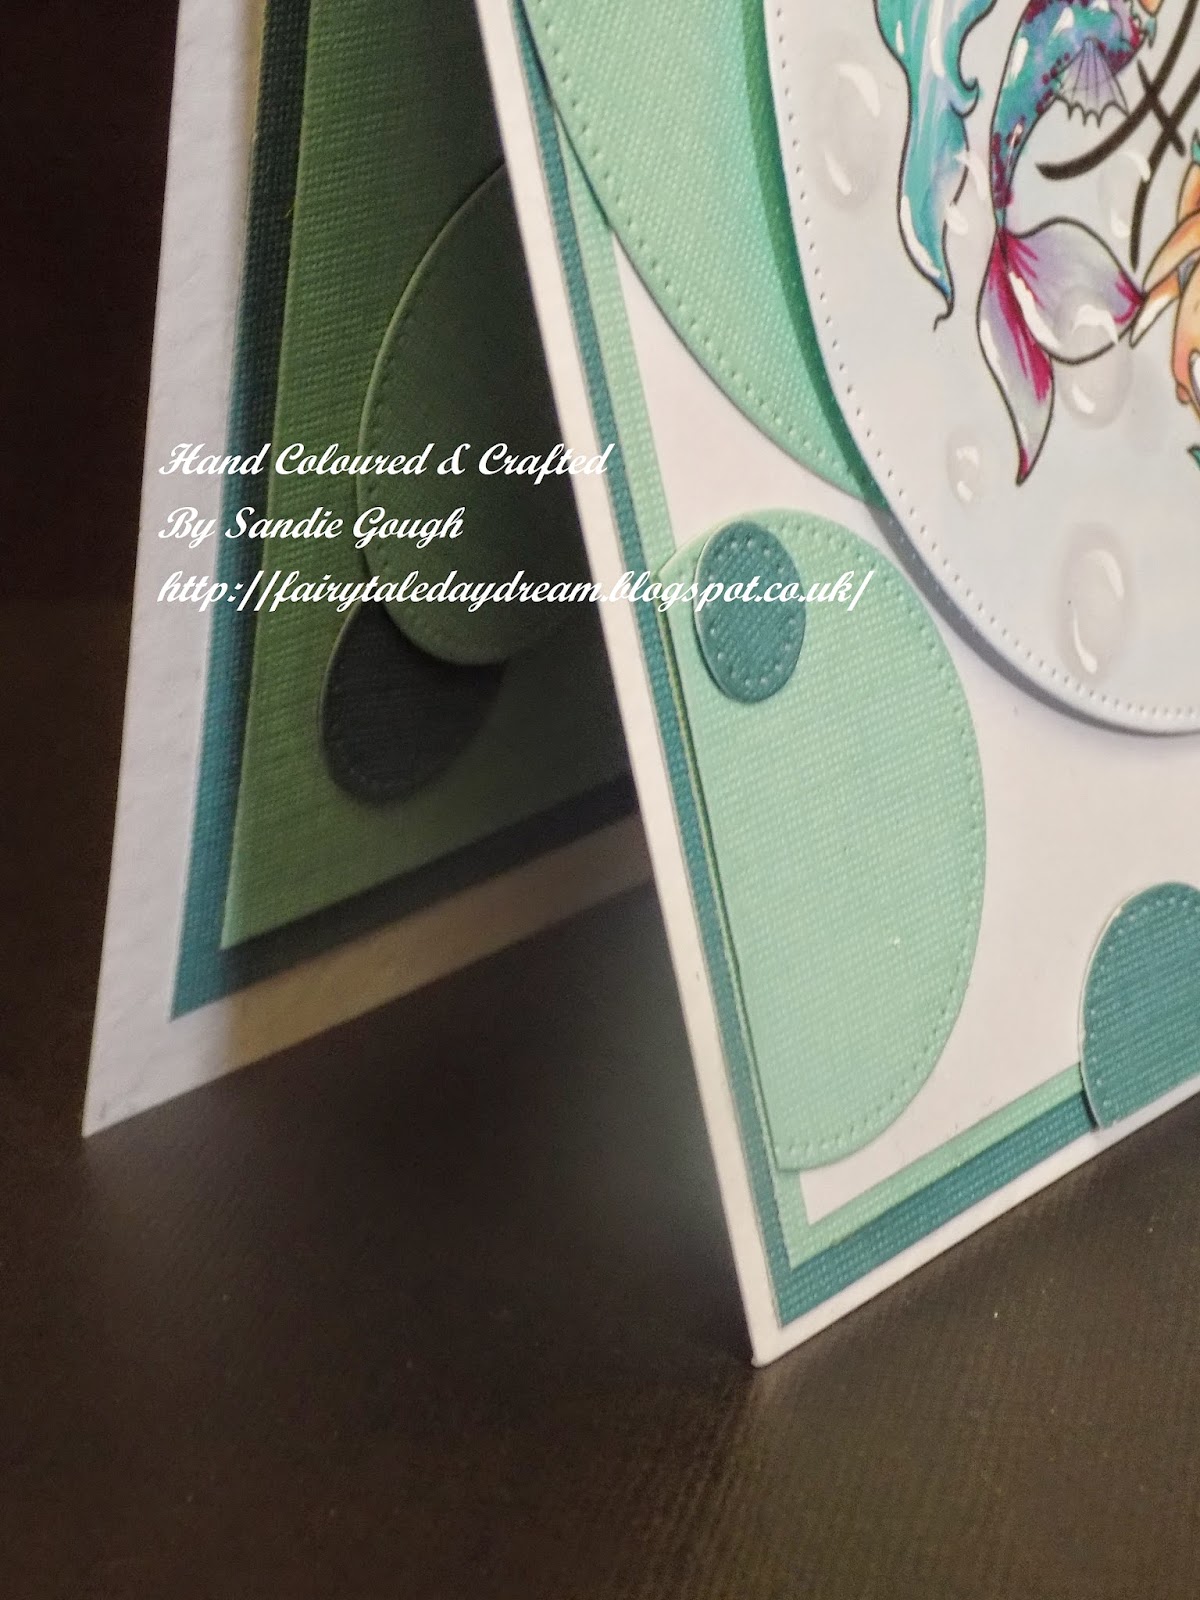
Side view to show the 3D effects
Here's the how's - but I thought I'd add my first ever blogland tutorial...

MATERIALS: Everything I used to make this can be purchased from the wonderful Lisa Horton at That Craft Place.  I will add the products used under each picture, so you know when I used them :D

MDF or greyboard heart base; coat with Gesso and then I used matt medium to make the paper mache hill (I used pages from an old book ripped up into approx 2x2 cm square'ish shapes).  You may notice my very expensive paint palette! hehe See I never throw if I can reuse...packaging makes a great palette!

I then added strips of spiders web material, for its texture (mine is only green so you could see it, it will be painted so it doesn't matter what colour you use) and I roughly cut a cloud shape from lace.  Both were stuck with the matt medium.

Now the fun bits....after putting another covering of Gesso to everything, I then painted the 'hill' in metallic green liquid acrylic paint 

Then I used a dry brush to swipe across the sky with blue acrylic paint.  The blue was toned down by adding a touch of brown acrylic to the paint as I wanted a 'moody' feel to the piece.  By dry brush I mean, add a little paint to a dry brush then on scrap paper swipe the brush to take off most of the paint, then when there is very little left swipe across your piece.

I then added red acrylic, toned down with brown acrylic to the whole piece.  Again, it was dry brushed so not to add too much and so it also picks up the texture of the materials.

Finally I added Pinflare Buff It in antique silver (use it the same as gilding wax) to parts of the sky and hill.  I just picked out bits that I wanted to highlight to show depth and texture.  Build this up to suit your design, a little at a time.

This pic of the finished piece shows the Buff It a little better, just touches that pic up the light.

The bubbles you can see where a happy accident!  I used a heat gun to dry layers as I am soooo impatient and the Gesso bubbled leaving this effect (because I'd heated it too long in one place lol), however, I love the effect it left!

And there you have it...
I really enjoyed this and my OH and daughter were totally delighted with it, and the mood the colours create so I am a happy crafter :D

Don't forget to hop over to the main blog to see what the rest of the uber talented DT have made to inspire you, you can get there HERE

Happy Crafting :D

Sandie xxx

Challenges:
Deep Ocean challenge - #100 Easter/Spring
Create and Inspire - #18 ag
Inspiration destination - 26 ag
Simply papercrafts - #1 ag
Creative Fingers - #73 ag
Scribble and scrap - #41 ag
613 Ave Create - #117 ag
Creatalicious challenge - #73 ag

Saturday 28 March 2015

Awwww he's so cute!

Hello Again,

I have been playing along over at The Outlawz Challenges Progressive/freebie challenge since is started again in January.

Every month you get a free digi stamp, and you have to make a card and enter it before the end of the month, then you get the next months.  Its a great little challenge and there are prizes to be won too.

So, this month the challenge is sponsored by Gerda Steiner Digi Stamps and the stamp we were all given is a Cute Elephant - I know, me do cute!  Distressed I can do, messy I can do, I can even do girly but cute!  now this was a challenge!!!

After it sitting on my desk for nearly the whole month, with me trying to make something with the now PINK Elephant (why did I colour it PINK!). I finally (after pulling out nearly every paper I had!) found a paper pack hidden in the 'don't go in there it's scary messy! drawer.  I sat there for another hour or so moving papers around, until I finally come up with this make...I am sure it really shouldn't have been this dramatic, its an Elephant! But I'm sure you all have crafty days like this lol

So the Sandie Messy Desk Drama Club proudly presents......Elephant!

After all my drama, she is cute!

I even added an Elephant in the centre cut from the scraps!
 Anyway, here's a few of the how's and whatnots:
Image: Cute Elephant coloured with Copics.
Backing papers are from an old (very) DCWV paper pad called For The Boys and its matted onto Kraft card.
The circus banner at the front is also from the same pad, off one of the paper sheets.  As the paper is so heavy from DCWV I was able to score it to add the 3D banner without having to back it with acetate (phew or there would have been even more drama lol)
The circle is cut using the Dienamics Pierced Circles Stax die (what a surprise hey!  I did warn my regular visitors I was a little addicted to this die set and you all need one lol) and the bench is from a Joy Crafts die (from That Craft Place).  The bench was cut from Kraft card and then I added a shadow with Promarkers (because they were on my desk lol)
Obviously I fussy cut the Elephant out so I could sit him on the bench...but he was going to be under a lamppost, then sitting on the banner, then up a tree because there was a die cut tree on my desk and I fell about laughing at it up the tree...see, I've lost it on a cute card! lol

Here's the close ups:


hehe....I still managed to add my signature layered Butterfly! lol
Thank you so much for stopping by and I would love it if you could follow me so you don't miss any of my makes, I love sharing them with you all.  Popping by other crafty blogs is fabulous, I love seeing all the different techniques and how we all seem to craft slightly differently!  Even with the same product, its amazing to see such variety in style and trust me, some of you are seriously talented!  and I can only hope to be as good as you guys :D

Happy Crafting :D

Sandie xxx

Challenges my little Elephant would like to enter!:
The Outlawz Challenge - March progressive/freebie challenge
Papertake Weekly challenge - A cut above (fussy cut Elephant)
Inspiration Destination - #25
Inky Impressions - #202 Bold and Bright
Sister Act Card Challenge - #99 ag
Art by MiRan - 28 ag
Aud Sentiments Challenge - #128 ag with a sentiment
The Sisters of Craft - March AG


Friday 27 March 2015

New Release Friday...

Hello Again,

I love Fridays, especially when there are new releases to showcase!

Today I'd like to share with you a set of new digi's by Rosey Hearts called The Creeps...

Each one is sold separately so I'll name the ones I used:

The Creeps Tilly
The Creeps, Shrunken Headhunter
The Creeps, Bunz

Using My Craft Studio (I really need Serif!) I put the images together to form a little group, here's my make...

The Creeps - remember they are individual images, only available separately 

Scraps for inserts...
I really did have great fun with these images.
The sentiment is mine, made on the computer and printed on Kraft card.
Putting it together was simple, I layered burlap, rik-rak and ribbon across the centre; The backing paper is My Minds Eye and the die cut is a new set from Creative Expressions.  The corner die cuts were all one piece...the centre die from the set, I trimmed it up to make the corners and the top embellishment.

Here's the close ups:


Don't forget to hop over to the main blog to see what the New Release Designers have come up with for Rosey Hearts, you can get there HERE
The Rosey Hearts shop can be found HERE

Thank you for stopping by, it really does mean a lot to me and I totally love reading your comments each time :D

Hope to see you again real soon, happy crafting :D

Sandie xxx

Challenges:
Crafting from the heart - #52 ag
Not just cards - #15 ag
Craft your passion - #253 ag
Create and Inspire - #18ag
Simply Papercraft - #1 ag
Creative fingers - #73 ag
613 Avenue Create - #116 ag
Get Creative Challenges - #11 Must use a die cut

It's Friday and I have an awesome Rockin Mom to share...

Hello again,

It's Friday so its my turn to showcase one of the amazing images from Slinky Tart and I have gone for an oldie but a goodie...

Rocking Mom is one of Tamara's older images that she brought into Slinky Tart from her previous collections under the name of The Stamping Chef.  I am so glad she did because she is just totally epic!

Here she is:
Rocking Mom by Slinky Tart

Using the off cuts for inserts ensuring a perfect match without wasting precious paper
I have coloured her with Copics and then used the totally gorgeous Botanical Tea paper pad for the backing.  I have cut elements from the pad to mat and layer with her, and I used a Spellbinders ornate die to add a little touch of something.
I just love the contrast between the Rocking Mom image and the rather sophisticated suggestions of the paper...don't judge what you don't know she is saying, perhaps!
I added a little embellishment but as the paper is so busy I didn't need much but still managed to use Frantage on a few bits lol and of course you will spot my 'signature' multi layered punched butterflies here and there :D

Here's the close ups:


Thank you so much for visiting and don't forget to follow my little blog for more of my crafty madness.

Stop by the main blog to see the rest of the teams makes HERE and you can purchase this and many more gorgeous Slinkies HERE

Happy Crafting :D

Sandie xxx

Challenges:
Scribble and scrap - #40
613 Ave Create = #116 AG
Get Creative CHallenge - #11
Creative ladybirds creations - #1
Creatalicious challenges - #73 AG
Bunny Zoes Crafts - March spring colours
Crafts Galore - March AG
Crafting from the heart = #52 AG

Friday 20 March 2015

New Release Inspiration

Hello Again,

An extra post from me today to showcase some brand new designs from a new Digital Stamp Shop called, Rosey Hearts

I had the fabulous opportunity to play with some of the new releases and I'd love to share them with you...

I have made a full project with Pisces from the Zodiac range of digital stamps...

Pisces by Rosey Hearts

As always, matching insert as a final touch
I loved working with this one, and my first mermaids on my blog! lol

I have also managed to colour up some other new releases, so I thought I'd share them too even though there not on a card yet lol

Gemini from the Zodiac collection

Fancy Faces 1, 2, 3 & 4 (all available separately)

I really hope you love them as much as I do and take a peek on the main blog for Leah's gorgeous makes too...you can get there HERE

Here are a couple of close ups of my Pisces make (sentiment by My Little Darlings Rubber Stamps) and circle dies are by MFT's.  Coloured of course with my Copics.


Thank you for popping by and please click to follow my little blog so I can share more with you soon :D

Happy Crafting :D

Sandie xxx

Challenges:
Lil patch of crafty friends - #6 AG
Crafting from the heart # 51AG
Whoopsie Daisy - March, add a sentiment
Not just cards - #15 add a sentiment
Craft your passion - #252 AG
Fantastic Tuesday - #77 make it square
Scribble and scrap - #40 AG
Creatalicious challenge - #73 AG

Sunday 15 March 2015

Charming over at That Craft Place....

Hello again,

I'm here to share a fabulous make for the That Craft Place Challenge Blog as its the start of another challenge :D

The theme this time is Charmed! so grab those charms crafter's and let's get making....

Image: Sweet as Candy from the Betty Boots range of digi's at That Craft Place

As always, grab those off-cuts and use them to create an insert...
Here's the how's and what's:
Image: Sweet as Candy by That Craft Place; coloured with copics
Papermainia paper pack (still using up old pads in my stash!) and super smooth card stock for the colouring were used - and I thought I'd go for a bit of a CAS look....I know, someone pick my big Sister back up as she's just feel of her chair! lol
I used a second coordinating paper from the Papermainia Man's World pad and layered that in between two white card mats to form the base layer.  By multi layering the 'frame' for the design it draws the eye in to the main focal points.
The next bit was simple...I used my fav die set, MFT Pierced Circle Die Stack and used most of the sizes to cut circles from the backing paper (chosen because of the circle patterns) and the large die was used to cut out the image.
I decided to also use one of the smaller circle dies to frame her Boots as they didn't fit in the die with the image and as she is Betty BOOTS I didn't want to leave out her famous boots lol
I have laid some of the circles flat on the card and raised others using foam pads, either one pad or two pads high - this adds more dimension to the finished design.
I then cut a white card circle, pierced a hole so I could use a brad to hang the heart charm (remember the theme is charmed!) and then added a chipboard sentiment from Make it Crafty

Here's the close ups:
Sweet as Candy by That Craft Place coloured with Copics

Sentiment from Make It Crafty

Matching inside and out

An extra element is to add the rest of the image offset

Layering adds dimention

Multi layers make a CAS card more interesting to the eye

Thank you for visiting as always, your visits and comments are very much appreciated - hugs xxx

Don't forget to nip on over to That Craft Place Blog to join in the challenge and check out the fabulous digi stamps over on the Etsy shop - HERE

Happy Crafting :D

Sandie xxx

Challenges:
Lil patch of crafty friends - #6 AG
Crafting from the heart - #50 AG
Whoopsie Daisies - March add metal
Not just cards - #14 AG
Just inspirational challenge - metal
Inspiration destination - #24 ag
Sister Act card challenge - #97 AG
Crafty Calendar Challenge - March, add metal