Showing posts with label Pearls. Show all posts

Sunday, 24 May 2015

Brand New Button Box Fairy's at That Craft Place

Hello there,

You all know how I love new releases...its a thrill to see brand new images and even better to get to play with them!

I shared Tilly-Jayne from the new Button Box Fairy's    in an earlier post (you can find it HERE, she was named by me after my youngest!) so today, to kick start the new challenge over at That Craft Place Challenge Blog I'd like to share...

MIXIE


Oh my!  I love her :D

Here's the how's and what's:
Mixie Button Box Fairy was coloured in Copics, and cut out leaving a 2mm edge, I didn't cut into all the little spaces around her musical swish (because that's way to fussy) and here's a TOP TIP so you don't have to either!
Use a coordinating ink pad (I used Spiced Marmalade Distress Ink) with a cotton bud!  Yes I did say cotton bud...soak up some ink on the end of the cotton bud and sweep the edge of the image as you would with a large ink sponge, then very lightly in a circular motion begin to build colour in the white spaces.  Lightly does it because you can always add more but you can't take it away lol

The backing is Artisan by Graphic 45, I used the signature sheet and cut out all the elements I needed from ONE sheet of 8 x 8!  Just goes to show now versatile the papers are.
I wanted to use the door with her and so I cut out tiny flower details to edge it from the scraps! - don't throw your tiny bits of G45 till you've double checked to see if there is a tiny something you can cut out and add lol Its so much fun and a great sense of satisfaction!  (I may need to get out more lol)

The words are also from the same sheet, its the backing to the sheet and I layered the words to read from from to inside:
'If opportunity doesn't know, Build A Door!' 'Imagine Detail' 'Create Details' - my thought for the day :D
Another TOP TIP before I go...the edges of the birds have been treated to a little swipe of my black ink pad!  My cutting wasn't perfect and I wanted to make them stand out a little so edging with the ink pad not only covers an tiny imperfections it also adds depth :D
The final piece will fit into an A6 envelope because I cut off 2cms from the bottom before I layered the card to allow for the roof overhang :D

All supplies can be found at THAT CRAFT PLACE 
List: Kraft Card, Cosmic Shimmer Glue, sticky pearls, scissors, black card, Graphic 45 Artisan 8x8 paper pad, Pinflair Glue Gel, Distress ink, Black momento ink pad and time to cut :D

Here are the close ups:


Thank you so much for stopping by and please join us this fortnight in the That Craft Place Challenge, the theme is Shabby Chic!

That Craft Place Etsy Shop is well worth a visit too, these new images are a must have :D

Happy Crafting :D

Sandie xxx

Challenges:
http://littleclairesdesigns.blogspot.co.uk/2015/05/monthly-blog-challenge-57-outdoors.html 57
http://craftycalendarchallenge.blogspot.co.uk/ with wings
http://cheerfulstamppad.blogspot.co.uk/2015/05/fairies-come-out-on-this-blog.html fairy's
http://avenue613.blogspot.co.uk/ 125 ag
http://scribbleandscrapcrafts.blogspot.co.uk/ 45 ag
http://allsortschallenge.blogspot.co.uk/ 312 birthday challenge
http://artbymiranchallenge.blogspot.co.uk/ 32
http://scrap-craft-inspiration.blogspot.co.uk/ 9 colours of spring

Saturday, 2 May 2015

Use a Die Cut for the Crafting Muskateers Birthday!

Hello again,

It's the 2nd Birthday for the Crafting Muskateers Challenge Blog and we are launching our May challenge today too!

The theme is Use a Die Cut and there are 2 fabulous sponsors this month too...The Hobby House and JGD Crafts!  Both are gorgeous craft shops so please pop on over and join in the challenge to be in with a chance of winning some goodies.

Being a Design Team member has its perks, one of which is we get to play with some totally amazing stamps.  As you know I'm also on a couple of other DT's and when I joined the totally awesome That Craft Place team their challenge was sponsored by All Dressed Up Digital Stamps so I got to play with this darling image, but I was too late to hook it into the challenge (which was ages ago and I can't believe I had forgotten about this gorgeous stamp!), so I thought I'd show her with the Crafting Muskateers for the first time...

Little Flower Girl from All Dressed Up

Coloured in Copics

Matching insert as always
I used this card for a commission make and the recipient was very happy too :D

Here's the what's and how's:
Image coloured with Copics on Super Smooth card (That Craft Place)
Papers are from The Works!  some interesting stuff in there if you dig around :D
The letters are a stamp set I had in my stash and I punched them in 1" circles (Xcut punch)
Then pearls and ribbon of course and a bit of matting and layering using my current fav die set (the theme lol)...sorry its here again lol MFT Dienamics Pierced Circle Stax Set

Here's the close ups


Thank you for popping by and do go over and take a peek at the rest of the teams inspiration and join in this months Use A Die Cut challenge at the Crafting Muskateers Challenge and wish them a Happy 2nd Birthday, don't forget to enter too x

Happy Crafting :D

Sandie xxx

Challenges:
http://lilpatchofcraftyfriends.blogspot.co.uk/ 9 ag
http://glitternsparklechallengeblog.blogspot.co.uk/ 135ag
http://a-step-in-the-darkness.blogspot.co.uk/ 20ag
http://avenue613.blogspot.co.uk/ 122 playing the twist, feminine
http://www.ribbongirls.blogspot.co.uk/ May, for a Mum
http://alldressedupchallenges.blogspot.co.uk/ 34 ag

Friday, 27 March 2015

It's Friday and I have an awesome Rockin Mom to share...

Hello again,

It's Friday so its my turn to showcase one of the amazing images from Slinky Tart and I have gone for an oldie but a goodie...

Rocking Mom is one of Tamara's older images that she brought into Slinky Tart from her previous collections under the name of The Stamping Chef.  I am so glad she did because she is just totally epic!

Here she is:
Rocking Mom by Slinky Tart

Using the off cuts for inserts ensuring a perfect match without wasting precious paper
I have coloured her with Copics and then used the totally gorgeous Botanical Tea paper pad for the backing.  I have cut elements from the pad to mat and layer with her, and I used a Spellbinders ornate die to add a little touch of something.
I just love the contrast between the Rocking Mom image and the rather sophisticated suggestions of the paper...don't judge what you don't know she is saying, perhaps!
I added a little embellishment but as the paper is so busy I didn't need much but still managed to use Frantage on a few bits lol and of course you will spot my 'signature' multi layered punched butterflies here and there :D

Here's the close ups:


Thank you so much for visiting and don't forget to follow my little blog for more of my crafty madness.

Stop by the main blog to see the rest of the teams makes HERE and you can purchase this and many more gorgeous Slinkies HERE

Happy Crafting :D

Sandie xxx

Challenges:
Scribble and scrap - #40
613 Ave Create = #116 AG
Get Creative CHallenge - #11
Creative ladybirds creations - #1
Creatalicious challenges - #73 AG
Bunny Zoes Crafts - March spring colours
Crafts Galore - March AG
Crafting from the heart = #52 AG

Saturday, 14 March 2015

Sharing the love...

Hello again,

An extra post or two for you over the next couple of days to share recent commissioned makes that I couldn't blog for a while.

The first is all about love...
Image is coloured with Copics and its called SQUEEZE by That Craft Place

As always, off cuts make a super super insert, just move them around until you like the result
Here's the how and what's:

Everything I used except the sentiment can be found at That Craft Place and even if they don't have the exact thing left in stock they will have alternative goodies to create the same effects :D  Don't forget they have a bricks and mortar shop too!
Image: Squeeze from That Craft Place Etsy Shop
Paper pad: Craftwork Cards Botanical 8x8 inch pad
For the main embellie, my lace and pearls swag, I used my hot glue gun starting on one side.  Pop a blob of glue then use a large ball embossing tool to push the lace in, strunch it a bit then another blob and repeat.  Once you get all the way along, moving the line up and down if you wish you can then go back and use a pearl strand to hide any glue showing by glueing it over the top :D
The hearts were die cut from off cuts of paper and then edged with Momento Ink in a matching colour tone.
And that's about all (for a change lol)

Here's the close ups:
TOP TIP: I cut an 8x8 inch base card down to 7 x 7 so I could hang over and still put it in the envelope for posting!  

A touch of frantage and some diamond pieces


The sentiment was made on my computer and that's about that.

Thank you so much for letting me share this one with you today and please don't forget to follow me so you can catch my next make :D

Happy Crafting :D

Sandie xxx

Challenges:
Buckwells Crafty challenge - March, Flowers
Bunny Zoe's challenge - March, spring colours
Crafty Hazelnuts patterned paper challenge - March
Crafting for all seasons - #97 girls girls
Glitter and Sparkle - #127 Inside and out (I always do lol)
Not Just Cards - #14 AG
Creative Fingers = #71 AG
Art by MiRan - #27 AG

Monday, 2 March 2015

Ribbons and Pearls...A challenge begins...

Hello Again,

Its the 2nd of the Month so it's challenge time over at Crafting Muskateers Challenge Blog, as always it's a Monthly challenge and the theme this time is Ribbons and Pearls, so make sure you add some ribbon and pearls to your make.

Our sponsor this month is Crafty Ribbons who generously provided the DT with some gorgeous ribbons to use (total lushness!) so I have included them in my project...

Layered design to frame the central image

Gorgeous green and ivory spotted ribbon from Crafty Ribbons
Here's the how's:
The image I chose to use is Balloon High by That Craft Place Etsy Shop and I have coloured her with my Copic's.
She's then matted onto the green paper I have used in the backing and then again on white to frame her.
The backing is a simple cross layer's design.  Top Tip: if you cut your card down by 1" you can then take a horizontal mat across your card and have it hang over by 1/2" either side!  This gives structure and an interesting feature to your design!
The backing papers are all from American Crafts, and the base layer is actually green foiled but it doesn't really show in the pic's.
I have used the added horizontal structure to showcase the beautiful ribbon from Crafty Ribbon and I have used a pearl slider (from That Craft Place) to add detail.
As a final 'pearl' addition I used a pearl string along the bottom of the second layer.
All other embellishments are from That Craft Place

Here's the close ups:
Matching paper inserts, I use the off-cuts when ever I can to avoid waste!

Shabby Green Frantage again!  There is nothing I won't cover in Frantage!!!

Balloon High by That Craft Place

Sentiment is also from That Craft Place Etsy Shop - scrabble tiles

Added dimension by simply gluing the sentiment at either end and pushing it up in the middle!

I rolled these embellies in Antique Silver Buff It and the rolled it in a small pile of Frantage, then heated with the heat gun!
Thank you so much once again for taking the time to visit and if you don't already follow me please click the buttons before you go.  I love reading all your comments so if you could leave one of those too that would be ace xxx

Don't forget to hop over to the Crafting Muskateers Challenge Blog to see what the other DT's have been up to and too enter this Months challenge - Ribbons and Pearls

Happy Crafting :D

Sandie xxx

Challenges:
Sisters of Craft - March, AG
DigiDesign Resort - 28/2 Birthdays
One stitch in time challenge - #231 AG with Birthdays
Crafty Hazelnuts Patterned Paper Challenge - March
Brown Sugar Challenge - #135 AG
Creative Craft Cottage - #34 include a sentiment
Creative Knockout - #78 lots of layers
Make My Monday - 2/3 Girly Birthday

Thursday, 22 January 2015

Anything Goes....perfect time to join in at Aud Sentiments Challenge Blog!

Hello again,

Isn't January a long month!  Always a bit of had Christmas, long time 'till summer feeling about so it's a perfect time to join us over at Aud Sentiment Challenge Blog for a fabulous Anything Goes challenge and let your creativity run a muck!

Our delicious sponsor this time is Sassy Studio Designs and the image I got to play with is the gorgeous Latte Momma Sassy and here's the design I came up with...


Purple is not one of my fav colours so I challenged myself with this one to use purple tones and come out of my comfort zone...not 100% sure on it now its finished but the children assure me it looks ace so here it is lol :D

Here's what I used:
Image: Latte Momma Sassy by Sassy Studio Designs
Colour and image backing: Coloured with Graph'it Marker pens: hair tones 2105, 2120, 2140, 2160, 3160; Clothes: 9400, 9402, 9404, 6110, 6120, 6140, 6180
300gsm super smooth card from That Craft Place
Backing: papers from my stash...can't remember where as I'm still trying to use up the pile I have of bits and bobs!  Cosmic shimmer mica spray was used around the image (from That Craft Place)
Embellies: purple burlap - a find in the Pound Shop!, lace from stash, Flowers, wooden owls and pearls are all from my stash but check out embellies at That Craft Place especially MDF pieces!
Sentiment: Create with TLC .... TOP TIP if you haven't checked this one out yet you really must!  Paulette is so generous with her free sentiments and has fab designs too xx

Here's how:
No special tricks this time...matting and layering of papers and burlap is how I created this piece, placing the image to the side gives room for a whole host of flowers and bits and pieces.  I love using old brads (oh TOP TIP!  see I have got one!  I use old brads that I don't use any more..they seem to have gone out of fashion, by cutting the prongs off the back and then hot glueing them just as you would any flat back embellishment!  a whole new set of embellies to play with now lol).  Around the image I used cosmic shimmer spray in a tonal colour and I applied it by spraying it on my glass mat and then dabbing it on the image with an almost dry scrunched up baby wipe!
The insert is matching paper and that's about that.

Here's the close ups:


Thank you so much for taking the time to visit and I hope you liked my make for today :D  Please start to follow me so that I can share more of my makes with you all x

Don't forget to hop over to the main blog to see what the rest of the team are up to and join us in the challenge - link is HERE

Happy Crafting :D

Sandie xxx

Challenges:
Through the purple haze - #74 Spring
Penny's paper crafty challenge - #211 AG
Creative inspiration - #297 pretty pearls
Word Art Wednesday - #167 AG
Inspiration Destination - #17 AG
Creative knockout - #73 lots of embellies
Jo's scrap shack - #71 AG
Allsorts challenge - #274 Spring flowers
CCC digi creations - #17 digi and flowers
Sparkles forum challenge - January; raise a glass (or tea/coffee)

Saturday, 27 December 2014

A Christmas commission...couldn't show it before...

Hello and I hope you all had a fabulous Christmas Day full of joy and smiles xxx

Just a quick stop by today to share with you a commission make with you that I couldn't share before Christmas.  As I'm sure many of you did, I had a lot of commission makes and won't be blogging them all (phew I here you cry lol) but I thought I'd share a couple.

So here's the first one....


You know that feeling when you stand back and look at your finished work and smile to yourself...this was one of those!  I love it and had a hard time handing it over lol

A quick bit on what and how:
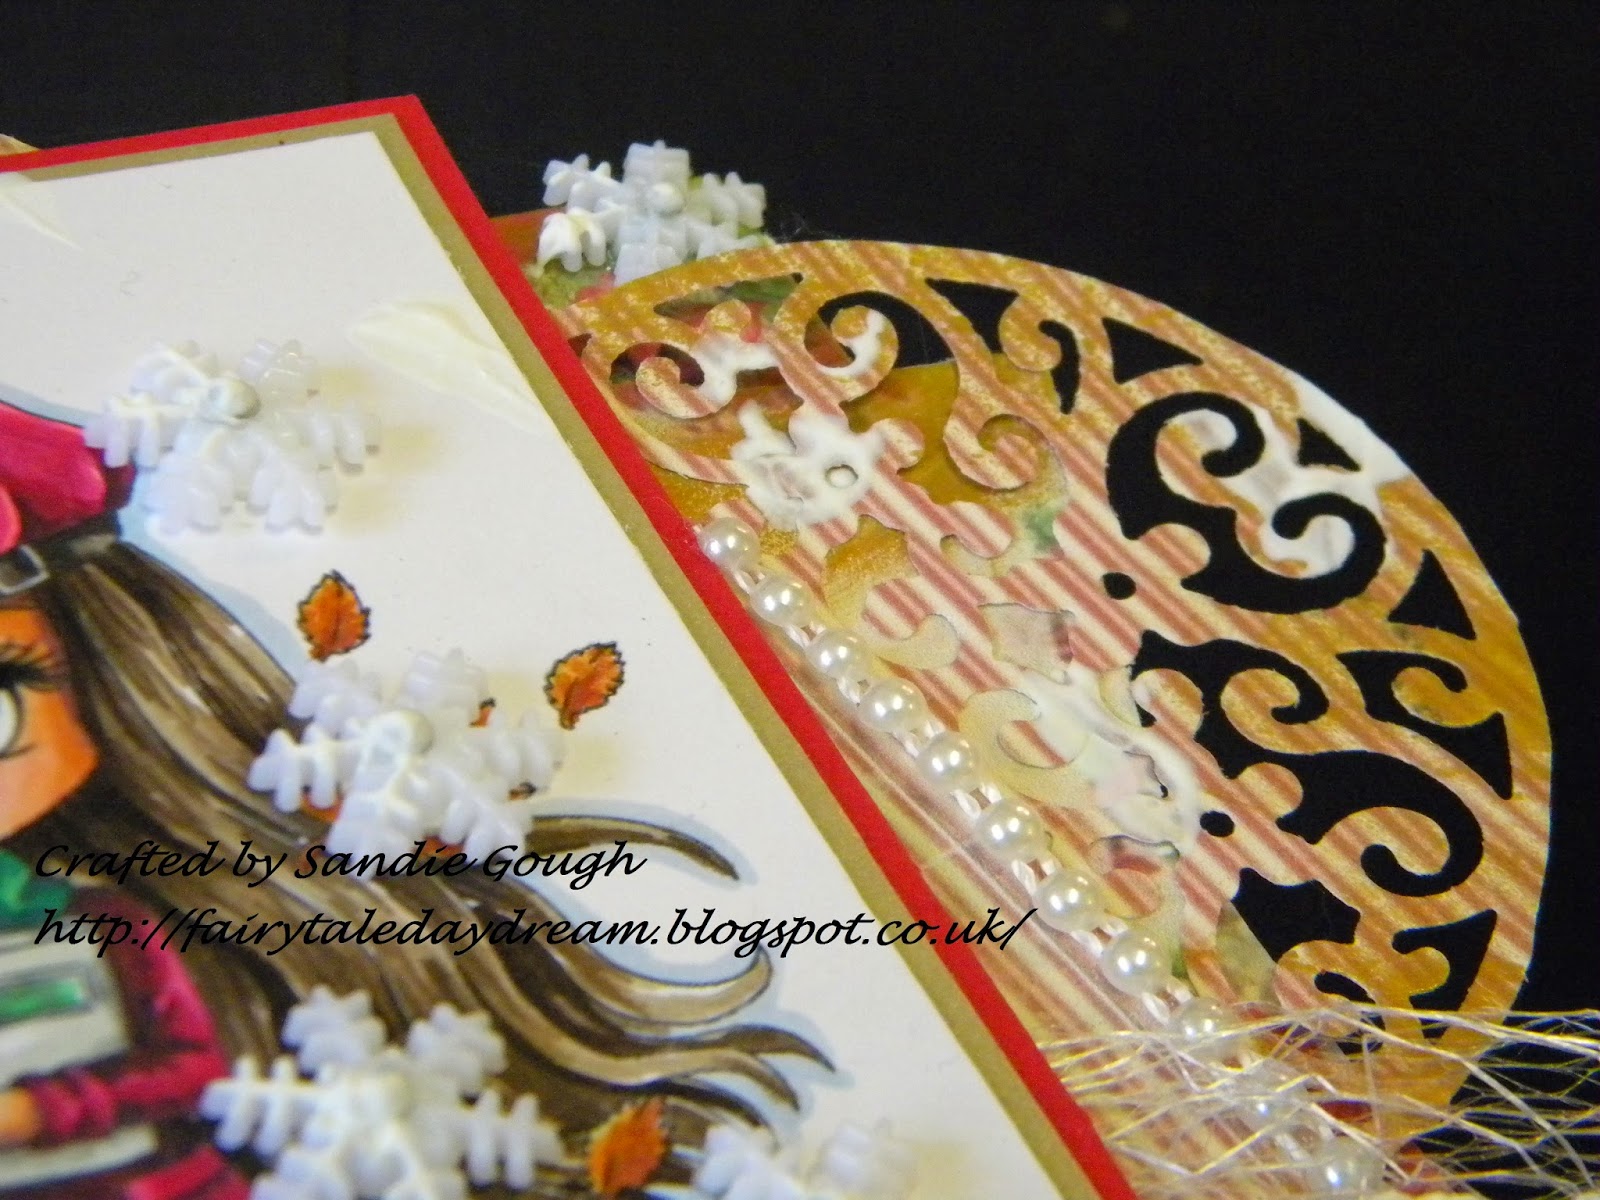
Image - Autumn's Memoires by Art by MiRan; technically for Autumn but I adore this image so I used snowflakes from my stash to cover some of the leaves and I think it worked quite well...and here in England the leaves are still falling so the weather agree's lol
I coloured with my Graph'it Marker pens (Santa might be bringing me Copic's eeek) and matted and layered the image on gold and red.
The backing papers, little envelopes and insert are all from Michele R Designs and the die cut sides are actually from an envelope element that I enlarged before printing and then die cut them with a Heart Felt Creations Doily Die!
The Sentiment is from Christmas Sentiments Scrabble Tiles by That Craft Place and I cut them out to add to the tags in the envelopes.
With the addition of flowers, pearls, wooden Christmas tree and then white gesso snow (all from That Craft Place that was it!

Here's the close ups:


Thank you so much for stopping by at this busy busy time of year and I really hope you continue to enjoy the holiday festivities xx

Crafty hugs

Sandie xxx

Challenges:
Papertake Weekly - choose a challenge; I chose AG
Love to Create - 147 Icy Winter Days
Penny's paper crafty challenge - 208 AG
Not just cards - 9 AG
Just Inspirational challenge - Christmas
A Random Fan - 21 AG
Inspiration Destination - 12 AG
Inky Impressions - 190 Winter wonderland
Art by MiRan - 22 AG
Sweet Lilac Flowers - Dec/Jan 15th; AG