Showing posts with label Bling. Show all posts

Saturday, 28 November 2015

It's a Blog Hop!

Hello there,
We are having a blog hop over at 


We cant wait to share our super Christmas Cuteness with you, and there are some totally awesome new digi stamps over in the That Craft Place Etsy Store

Make sure you comment on every DT's blog as we will be giving away prize's
5 winners will be able to pick 5 images of their choice

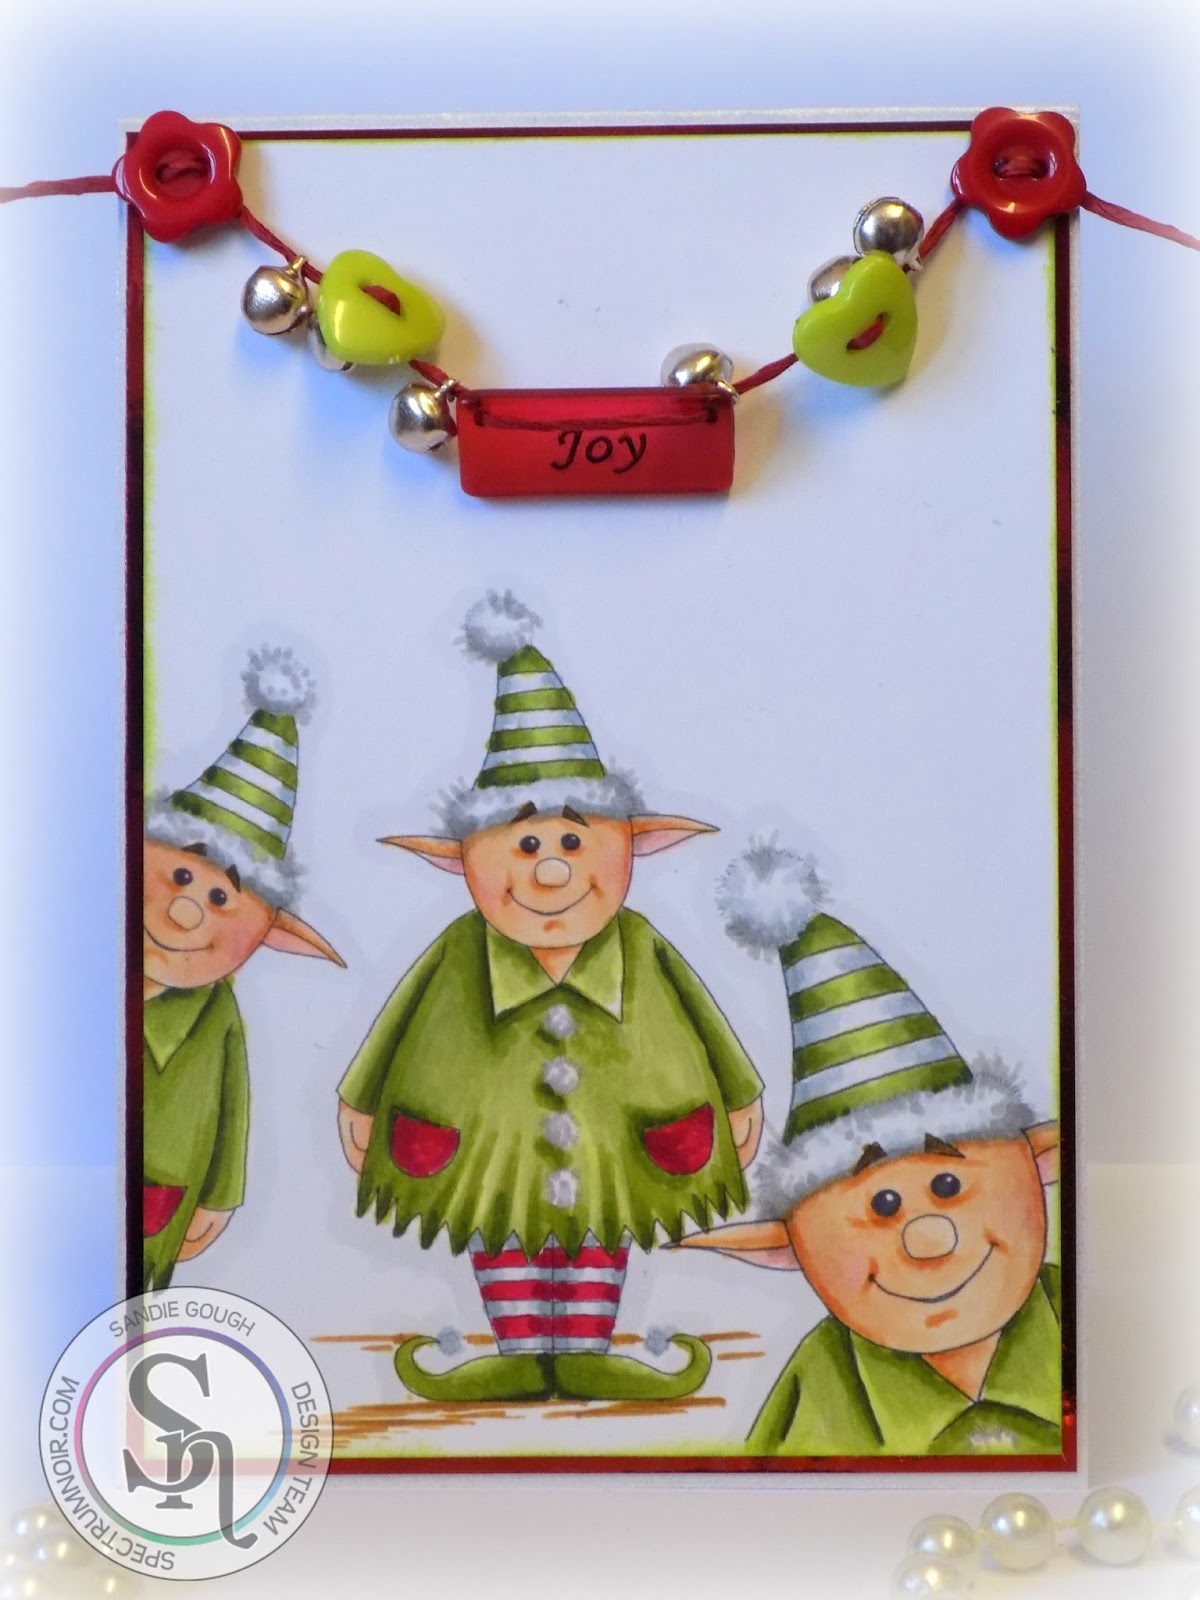
Here's my makes using just a couple of the gorgeous new images:


I have coloured my two with my Spectrum Noir markers, here are the colours:
Angel: Skin - TN2, FS2, 6, 8; Hair - GB10, 6, 4; Clothes - IG1, BG2, 3, 5; Wings - GB2, TN2
Elf: Skin - TN2, FS2, 4, 6, 8; Clothes - IG2, 1, BG1, DG1, 2, 3, CG1, 2, CR11, DR2, 4 (it's one image that I have place 3 times to get this gorgeous design with him being so cheeky!)

So back to the hop.....
You are at Fairytale Daydream (Sandie's - that's me) Blog you now need to hop on over next to
Lucy's Blog next... 

Don't forget to check out

If you get lost on the hop, go back to That Craft Place Blog to pick up where you got too xxx

Good luck everyone, remember, 5 winners so 5 prizes :D

Hugs

Sandie xxx
Challenges I'd like to pop my hop projects into:

Tuesday, 9 June 2015

Flights of Fantasy, Crafters Companion

Hello Again,

Having your samples shown on TV never gets old!  It's a fabulous feeling, I am so grateful to the design teams I am lucky enough to be on to have the opportunity...I love crafting <3

My share for today, from the gorgeous 4 day deal launch of Flights of Fantasy Double CD Rom (from Crafters Companion) on Create and Craft I would like to show you this one....

It is a card companion, with the digital stamps already set to size and framed ready for you to colour and cut...this one is card companion 4:


This one is featured on the main stand on the show's today...and I have coloured her and the background in Spectrum Noir Alcohol Markers by Crafters Companion

Since starting colouring in a crafty way about 18mths ago there have been a handful of images that I've stepped back from and said...yes, I love that!  This is one of those!  I was so happy with how this turned out :D

Here's what I used:
Image: Spectrum Noir Companion 4

SPECTRUM NOIR COLOURED:
Skin: LV2, TN4, 3, FS3, 9, 4, 2, CR3
Hair: BG1, 4, 6, DG5, 7, 3
Clothes: CB6, 7, 5, 3, 2, LV1, PL4, 2, 1; BT1, 2, 3, 5
Background: EB1, 2, 5, 7, 8, TN3, 4, DG2, 5, 4
Backing; White card base; black card,
From CD backing paper Design 7 colour2
Printed on Linen paper stock
Other bits:

lace, pearls, flowers

Here's more pics:


Thank you so much for stopping by so I can share my crafty creations with you :D

Before I go, for my fellow colourers, there are over 80 digital stamps on Flights of Fantasy!  80!  and matching papers, ephemera, embellies and everything else you now expect from Crafters Companion, so brilliant :D

Happy Crafting :D

Sandie xxx

Challenges:

Friday, 8 May 2015

Illeana makes an appearance to share a little bit of Slinky!

Hello again,

Woohoo it's Friday and time for me to share my DT showcase for Slinky Tart and to my regular visitors and followers, don't fall off your chairs but...I made a CAS card!  There I've said it lol

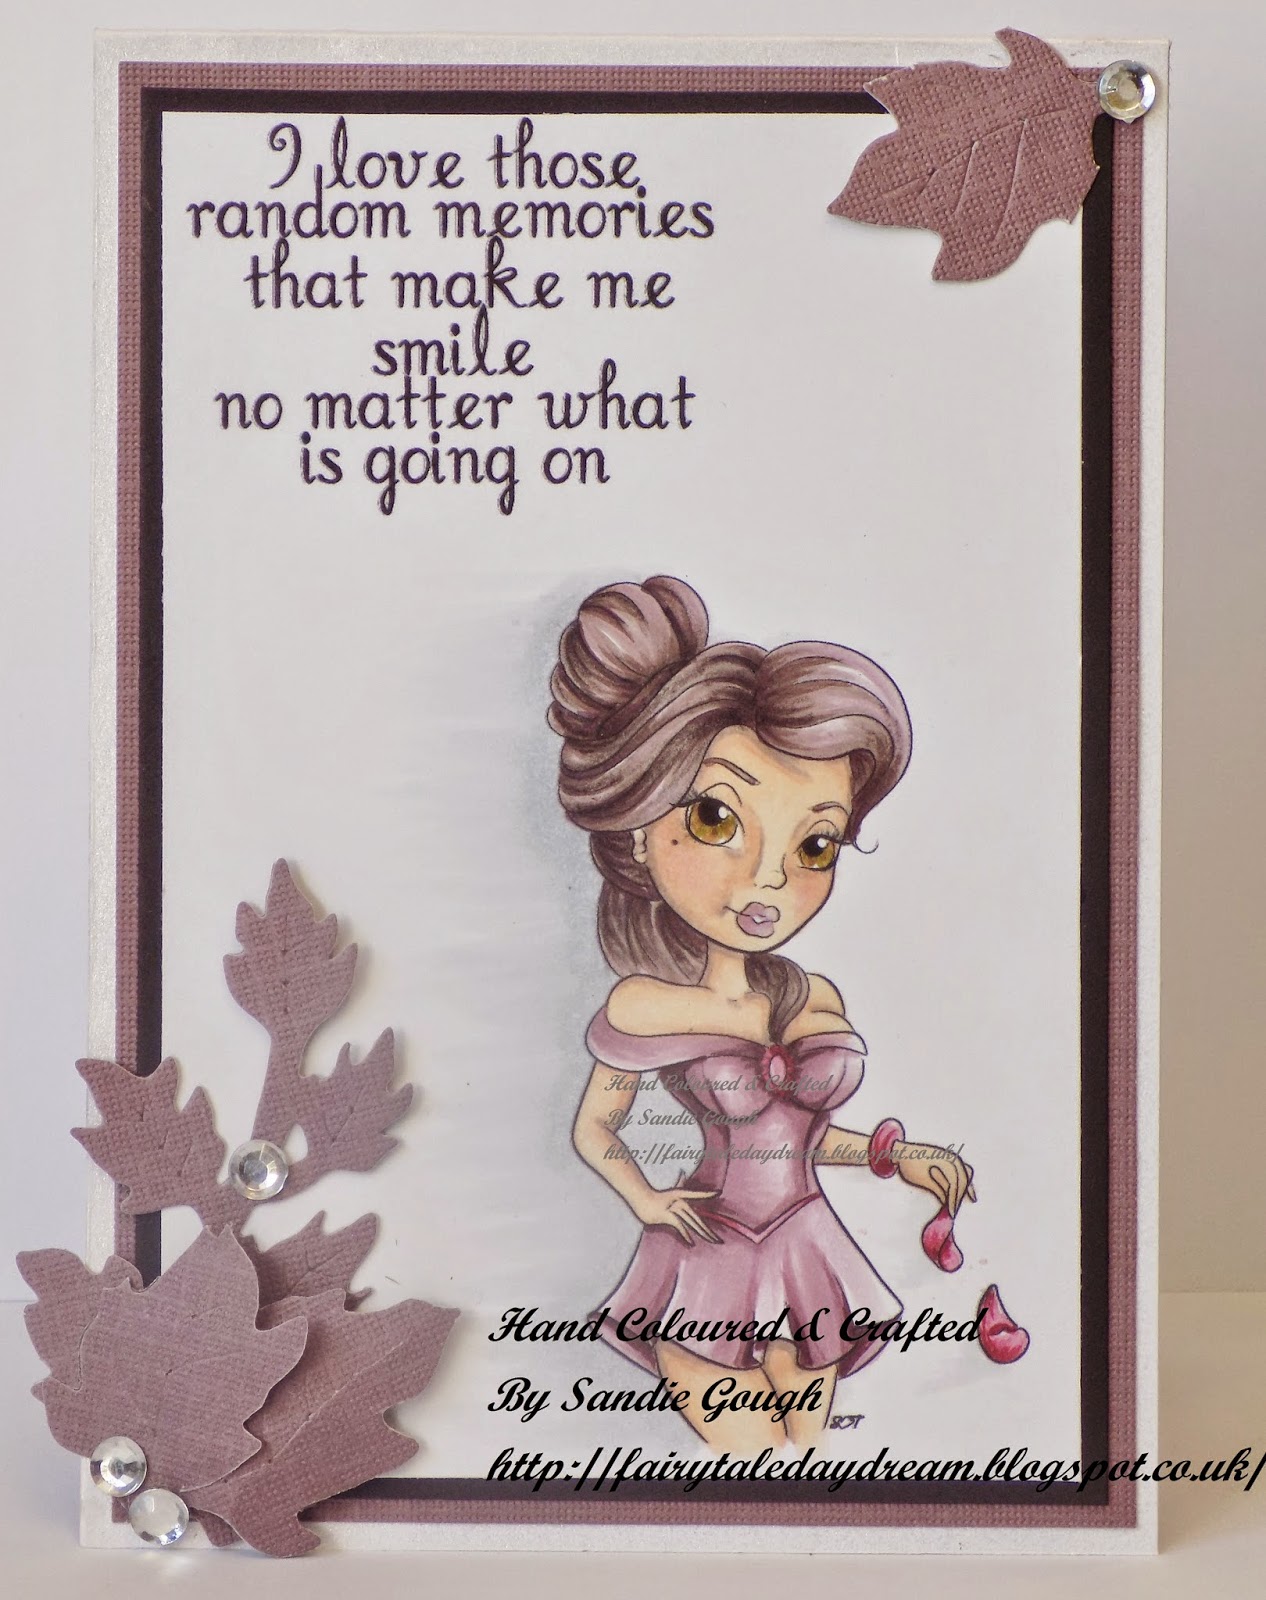
So, here she is Illeana

Illeana digital stamp by Slinky Tart, link in her name above x

You know me by now...match the inserts :D
Here's the what's and the how's:

Once you get over the need to grab the embellishments and the need to sit on your hands to stop you has subsided, making a CAS style is both challenging and fun :D  The use of the white space is not as easy as it should be lol
Illeana from Slinky Tart was coloured in Copics and all in luscious purple tones on 160 gsm super smooth paper, from That Craft Place
She is on an A6 size card blank made from 300gsm Hint of Gold Centura Peal card stock so I could have the fold at the top.  Then matted on black and purple coordinations cardstock.
I used some left over matching cardstock (Top Tip, keep your left overs lol) to die cut the large Ivy leaves. and then arranged them with an added bit of bling.
The coordination cardstock, Ivy Die and the Centura Peal cardstock are from Crafters Companion
The gorgeous sentiment is a digital download from Gingers House and if you haven't taken a trip there yet, my TOP TIP this time is to hop on over...she is so generous and her blog posts are so funny, well worth a follow :D

Here is the close ups:


Thank you for popping by and please if you are not already following my little blog it would be great if you did, so you don't miss my next adventure lol

Pop over the the Slinky Tart Blog to see what the rest of the design team are showcasing for you this week and you could take a peek in the Slinky Tart Shop for more luscious Slinkies :D

Happy Crafting :D

Sandie xxx

Challenges:
http://lilpatchofcraftyfriends.blogspot.co.uk/ #9 ag
http://glitternsparklechallengeblog.blogspot.co.uk/ #135 ag
http://papertakeweekly.blogspot.co.uk/ ag
http://notjustcardschallenges.blogspot.co.uk/ 18 ag
http://www.lovesrubberstampschallenges.com/ #150 ag
http://craftycatzweeklychallenge.blogspot.ca/ #278 CAS style
http://artbymiranchallenge.blogspot.co.uk/ # 31 ag
http://www.ribbongirls.blogspot.co.uk/ May challenge, for mothers or females :D

Friday, 24 April 2015

'Dreaming'...From the pen of the fabulous Slinky Tart

Hello Again,

It's another Friday DT inspiration from me today showcasing the amazing art of Tamara van Wijk aka Slinky Tart

Looking back over my last few weeks of blogging I seem to have been in a very eclectic mood lately!  I really have swung around just about every medium in the last few weeks!  At least you can't say I'm stuck in a rut lol!

Today, I've gone all girly again, because this image just cried out for a garden to dream in!

Here is...Dreaming by Slinky Tart

Lots of layers as she's looking over, wandering

I didn't have many scraps this time, so I used coordinating cardstock as the insert, just adding a touch of the matching paper as a banner at the top.
Here's the how's and what's:
I have coloured Dreaming with copics and then die cut her and the mats with My Favourite Things Pierced Circle Stax die's (yes, again lol but they're my fav!).
All the mat's (not the image) where then embossed using an embossing folder from Crafter's Companion magazine issue 6 (its packed full).  The sentiment stamp is also from the magazine freebies x
The gorgeous papers are all from Time For Tea Botanicals by Graphic 45 and you can get this and all of my lace and embellies from That Craft Place
I have on this one made all my own flowers...and I love the fan flowers, first time I have done them and I think they look awesome :D

Here's the close ups:


Thank you so much for stopping by, and if you like what you see, it would be great if you clicked to follow my little blog so I can share with you next time too :D

Here are the important links for you to check out:
Slinky Tart Blog to see the rest of the gorgeous DT's inspiration makes :D
Slinky Tart Shop to check out the awesome Slinky's on offer :D
Slinky Tart FB group to share your Slinky Tart makes and see what everyone else have been working with...its a great place to get more inspiration, especially if your mojo has gone for a little holiday! lol

Happy Crafting :D

Sandie xxx

Challenges:
http://lilpatchofcraftyfriends.blogspot.co.uk/ #8
http://fitztownchallengeblog.blogspot.co.uk/2015/04/april-70-use-flowers-and-or-leaves.html
http://craftingfromtheheartchallengeblog.blogspot.co.uk/ #56
http://cutedaisymay.blogspot.co.uk/ April, flowers
http://craftyourpassionchallenges.blogspot.co.uk/ #258
http://toptiptuesday.blogspot.co.uk/ 3 of something; 3 pinwheel flowers
http://www.addictedtostamps-challenge.blogspot.com.au/ #141
http://creataliciouschallenges.blogspot.co.uk/ #74 embossed

Sunday, 12 April 2015

Alter It...a challenge best tackled by two!

Hello again,

A word of warning - this is a picture heavy post, even for me! lol

It's a new challenge at That Craft Place Challenge Blog and the theme is 'Alter It', not really in my comfort zone so this looked like the perfect challenge to get reinforcements...in the shape of our youngest daughter, Tilly Jayne :D

Now Tilly is 7yrs old and when I tell you that the only bit's I did for her was to cut the paper at the beginning and hot glue the pearl string, you will understand my amazement and I've got to say a tiny bit of jealousy too!  Just how crafty is she going to be!

Well....here goes!
Our pen pot/desk tidy tutorial (Tilly was so excited when I told her we were going to do a tutorial, it was so cute!)...

1. Use a Pringles tin (empty of course) and cut on a diagonal approx 13 cms from the base (at the highest point)
You will need 2 coordinating papers, one 12x12.  Cut a strip from the 12x12 paper measured to your highest point (so in ours, it was 13cms).  If you have double sided paper your good to go, but as we didn't we added a strip both ends at 5cms wide to make the ends double sided.

2. Cut the coordinating paper to fit the front (lowest point) of your tin at approx 10cms wide
 Glue in place and cut off the excess.

3. Cut the front to approx 1cm above the curve of your tin and then cut down 1cm and feather the edges (see pic), then stick the feathered bits down.  

4. Cut the long piece in half.  Glue the inside of the paper BUT on the double sided end only glue the bottom and have a line of glue approx 5cms in (so there is no glue on the front end if that makes sense lol)...
 The 7yr old face-bombing at this point is optional but hey, go with it! lol

5. Wrap and glue the other half (they will overlap at the back but this adds strength) and trim to 1cm above the top, and once again cut down, feathering the edge, then push over and glue.  
 You can see why no glue on the ends in these two pics....

6.  Use a pencil or small paint brush to roll back the two ends at the front, revealing the 2nd paper underneath

7. Line inside with old book pages, we used a thesaurus that has been used for so many things lol
The decorate to your hearts content!
I love the rolled back front because it gives a focal point, but also gives a lot of possible looks using embellishments, so you'll want to make it again :D

Right...enough waffling, now you can join my pain and guess which one is mine!

Right image: Is mine....Left image: is Tilly's
Wow right!  or left in this case!
Here's a couple more pic's if you can take it...scroll past if you've had enough pics lol but I wanted to showcase the work as I promised I would, she is going to be so happy when this post is seen :D

Remember, this one is mine, the pink one above left is Tilly's!

 Proud and jealous Mummy day :D

All supplies, apart from the Pringles (although if you ask nicely Lisa might get you some lol) are available at That Craft Place.  Stocks of flowers and lace do change with the times but Lisa is always crammed to the rafters with  lushous goodies so you will be able to fill ya boots :D

Don't forget to check out the main blog to see what my uber talented teamies have made and to enter the challenge...just click...

That Craft Place Challenge Blog

Happy Crafting :D

Sandie xxx

Challenges:

Wednesday, 1 April 2015

Lots of Layers is the new challenge for Sugar and Betty...

Hello Again,

Sugar and Betty are no April Fools!  They have set you an awesome challenge this month, one you can really play with...Lots of Layers!

Here's my make...

Image - Love You Mum by That Craft Place

The insert this time is actually the waste from where I cut the circle die cuts!  The holes in the paper is perfect for showing enough white to write you greeting!  I was way to happy about this use of the waste than I think I should have been lol
Here's the what and how's:
The image is I Love You Mum by That Craft Place Etsy Shop and is coloured with copics.
The backing paper is My Minds Eye 12 x 12" paper pad and I matted it onto the base card, I then layered a strip of lace across the card, gathering it into blobs of hot glue as I went to give the illusion of pleats.  With the spare paper after trimming I hand cut out the trailing leaves and Layered them onto the base card to add height.
The image was edged with Victorian Velvet distress ink and Frantage and then it was layered onto the card, but!  I layered a circle die cut underneath it to add a little dimension to the square card!
Then...I layered 3 circles cut from the backing paper off cuts, that I had first scrunched to make the flower, adding a bit of bling to the centre.
The final touches were to add a few swipes of white Gesso here and there to give a shabby effect and then to add a touch of Rangers Stickles to the leaf's (that I'm gonna call another layer! lol)

Here are the close ups:
Subtle dimension with the layers

I love this type of flower

I love you Mum by That Craft Place Etsy Shop

The hand cut leaf's layered at different heights

Hidden sentiment - hello there - nestled with the flower

Subtle glitter effect with thinly spread Stickles
Thank you so much for stopping by and visiting with me today, I really hope you start to follow my crafty journey :D

All of my supplies for this make can be found:
Image - That Craft Place Etsy Shop
Paper, bling, glues, lace, Gesso, Stickles, Super smooth card for Copics, Copics, Copic re-fills, Distress Ink and much more are all available at That Craft Place
The challenge blog can be found HERE and I hope you can join us this time for the Lots of Layers challenge.

Happy Crafting :D

Sandie xxx

Challenges:
Crafting from the heart - #53 ag
Papertake weekly - take your pick (I picked, oval and pink)
The Pink Elephant - #292 ag
Not Just Cards - #16 ag
Creative Card Crew - #84 handmade flowers - circle flower
Creative Inspirations - #307 ag or sketch - both
Scribble and Scrap - #41 ag
Art by MiRan - #28 ag

Saturday, 28 March 2015

Awwww he's so cute!

Hello Again,

I have been playing along over at The Outlawz Challenges Progressive/freebie challenge since is started again in January.

Every month you get a free digi stamp, and you have to make a card and enter it before the end of the month, then you get the next months.  Its a great little challenge and there are prizes to be won too.

So, this month the challenge is sponsored by Gerda Steiner Digi Stamps and the stamp we were all given is a Cute Elephant - I know, me do cute!  Distressed I can do, messy I can do, I can even do girly but cute!  now this was a challenge!!!

After it sitting on my desk for nearly the whole month, with me trying to make something with the now PINK Elephant (why did I colour it PINK!). I finally (after pulling out nearly every paper I had!) found a paper pack hidden in the 'don't go in there it's scary messy! drawer.  I sat there for another hour or so moving papers around, until I finally come up with this make...I am sure it really shouldn't have been this dramatic, its an Elephant! But I'm sure you all have crafty days like this lol

So the Sandie Messy Desk Drama Club proudly presents......Elephant!

After all my drama, she is cute!

I even added an Elephant in the centre cut from the scraps!
 Anyway, here's a few of the how's and whatnots:
Image: Cute Elephant coloured with Copics.
Backing papers are from an old (very) DCWV paper pad called For The Boys and its matted onto Kraft card.
The circus banner at the front is also from the same pad, off one of the paper sheets.  As the paper is so heavy from DCWV I was able to score it to add the 3D banner without having to back it with acetate (phew or there would have been even more drama lol)
The circle is cut using the Dienamics Pierced Circles Stax die (what a surprise hey!  I did warn my regular visitors I was a little addicted to this die set and you all need one lol) and the bench is from a Joy Crafts die (from That Craft Place).  The bench was cut from Kraft card and then I added a shadow with Promarkers (because they were on my desk lol)
Obviously I fussy cut the Elephant out so I could sit him on the bench...but he was going to be under a lamppost, then sitting on the banner, then up a tree because there was a die cut tree on my desk and I fell about laughing at it up the tree...see, I've lost it on a cute card! lol

Here's the close ups:


hehe....I still managed to add my signature layered Butterfly! lol
Thank you so much for stopping by and I would love it if you could follow me so you don't miss any of my makes, I love sharing them with you all.  Popping by other crafty blogs is fabulous, I love seeing all the different techniques and how we all seem to craft slightly differently!  Even with the same product, its amazing to see such variety in style and trust me, some of you are seriously talented!  and I can only hope to be as good as you guys :D

Happy Crafting :D

Sandie xxx

Challenges my little Elephant would like to enter!:
The Outlawz Challenge - March progressive/freebie challenge
Papertake Weekly challenge - A cut above (fussy cut Elephant)
Inspiration Destination - #25
Inky Impressions - #202 Bold and Bright
Sister Act Card Challenge - #99 ag
Art by MiRan - 28 ag
Aud Sentiments Challenge - #128 ag with a sentiment
The Sisters of Craft - March AG


Friday, 27 March 2015

It's Friday and I have an awesome Rockin Mom to share...

Hello again,

It's Friday so its my turn to showcase one of the amazing images from Slinky Tart and I have gone for an oldie but a goodie...

Rocking Mom is one of Tamara's older images that she brought into Slinky Tart from her previous collections under the name of The Stamping Chef.  I am so glad she did because she is just totally epic!

Here she is:
Rocking Mom by Slinky Tart

Using the off cuts for inserts ensuring a perfect match without wasting precious paper
I have coloured her with Copics and then used the totally gorgeous Botanical Tea paper pad for the backing.  I have cut elements from the pad to mat and layer with her, and I used a Spellbinders ornate die to add a little touch of something.
I just love the contrast between the Rocking Mom image and the rather sophisticated suggestions of the paper...don't judge what you don't know she is saying, perhaps!
I added a little embellishment but as the paper is so busy I didn't need much but still managed to use Frantage on a few bits lol and of course you will spot my 'signature' multi layered punched butterflies here and there :D

Here's the close ups:


Thank you so much for visiting and don't forget to follow my little blog for more of my crafty madness.

Stop by the main blog to see the rest of the teams makes HERE and you can purchase this and many more gorgeous Slinkies HERE

Happy Crafting :D

Sandie xxx

Challenges:
Scribble and scrap - #40
613 Ave Create = #116 AG
Get Creative CHallenge - #11
Creative ladybirds creations - #1
Creatalicious challenges - #73 AG
Bunny Zoes Crafts - March spring colours
Crafts Galore - March AG
Crafting from the heart = #52 AG