Showing posts with label Hearts. Show all posts

Tuesday, 14 July 2015

Giggles and Bows....

Hello again,

I had so much fun colouring this image and just had to choose it as my first make this month for Spectrum Noir Education Design Team.

She's from the gorgeous Crafter's Companion Scruffy Little Kitten Rubber Stamp range and her name is Lettie - isn't she just adorable!


Here's what I used to make her:
Scruffy Kitten Lettie Rubber Stamp set: using SN’s
Skin: FS1, 2, 3, TN3, CR2
Hair: GB10, 9, 4, 1
Clothes: IB1, 2, 3, CR7, FS8, 6
Flowers: PP4, 2, 1
Cat: TN8, 6, GB7
Die’sire Lace Flower Die & Doily Heart dies

Neenah solar white cardstock
Papers: First edition
Flowers and peals from my stash

To see more fabulous projects using Spectrum Noir markers, pop over to the Spectrum Noir site and join in the July 'Summer' Challenge :D

Here's a couple more pics:


Thank you so much for popping by, I really do appreciate every visit xxx

Crafty Hugs

Sandie xxx

Challenges:

Saturday, 14 March 2015

Sharing the love...

Hello again,

An extra post or two for you over the next couple of days to share recent commissioned makes that I couldn't blog for a while.

The first is all about love...
Image is coloured with Copics and its called SQUEEZE by That Craft Place

As always, off cuts make a super super insert, just move them around until you like the result
Here's the how and what's:

Everything I used except the sentiment can be found at That Craft Place and even if they don't have the exact thing left in stock they will have alternative goodies to create the same effects :D  Don't forget they have a bricks and mortar shop too!
Image: Squeeze from That Craft Place Etsy Shop
Paper pad: Craftwork Cards Botanical 8x8 inch pad
For the main embellie, my lace and pearls swag, I used my hot glue gun starting on one side.  Pop a blob of glue then use a large ball embossing tool to push the lace in, strunch it a bit then another blob and repeat.  Once you get all the way along, moving the line up and down if you wish you can then go back and use a pearl strand to hide any glue showing by glueing it over the top :D
The hearts were die cut from off cuts of paper and then edged with Momento Ink in a matching colour tone.
And that's about all (for a change lol)

Here's the close ups:
TOP TIP: I cut an 8x8 inch base card down to 7 x 7 so I could hang over and still put it in the envelope for posting!  

A touch of frantage and some diamond pieces


The sentiment was made on my computer and that's about that.

Thank you so much for letting me share this one with you today and please don't forget to follow me so you can catch my next make :D

Happy Crafting :D

Sandie xxx

Challenges:
Buckwells Crafty challenge - March, Flowers
Bunny Zoe's challenge - March, spring colours
Crafty Hazelnuts patterned paper challenge - March
Crafting for all seasons - #97 girls girls
Glitter and Sparkle - #127 Inside and out (I always do lol)
Not Just Cards - #14 AG
Creative Fingers = #71 AG
Art by MiRan - #27 AG

Sunday, 1 March 2015

Betty Boot's New Release...number 1!

Hello again,

Wow!  What a new release for our Betty Boots!  You must must must check out That Craft Place Etsy Shop to see all the gorgeousness but we also have showcase posts by the design team to show off all the new designs.  This is the first of two showcase posts (but I am showing off two more designs with my challenge posts today to keep you busy!  So four, yes 4, post from me today! phew!

So, on with number 1...

Whisper Betty mounted onto a paper mache heart with fridge magnet attached

Fussy cut with a border to add definition between Betty and the background

Isn't she just lush!

Here's the what and hows:
Image: New release, Whisper Betty from the Betty Boots collection from That Craft Place Etsy shop, also available at these links:
That Craft Place - shop full of lush crafting goodies
http://thatcraftplaceblog.blogspot.co.uk/ - Challenge Blog 
https://www.facebook.com/groups/271008489659989/ TCP Facebook Shop!
https://www.facebook.com/groups/184329015068367/ TCP Natter & and Chatter FB group
Other stuff!: 
The backing is primed canvas, I drew around the heart and then cut and trimmed to size.  I coloured the background with Brusho paints by wetting the canvas and then sprinkling the Brusho powder in tiny amounts onto the wet canvas.  The colour spreads and mixes to give a vibrant backing.
The canvas is adhered using gloss medium (from That Craft Place) and then I stamped Betty Boots in black Archival ink.  
I then adhered Whisper Betty using the same gloss medium (lazy lol) and then coated the whole thing with the gloss medium.  The edges are covered in Cosmic Shimmer gilding wax and then also covered in the medium.  I did put on two coats to protect it.
The flowers are die cut from old book pages and then covered in Cosmic Shimmer mica powders after soaking them first!  Dried using the heat gun (no patience lol) and then I added rolled paper flowers to the centre.  The pearl finished off the flowers.
The heart and the butterfly are punched from the left over canvas after cutting out the heart (hate waste lol)) and then layered up to give them dimension.
Final touches of pins and charms and there you go :D

Here's the close ups:
The layers of the butterfly really show the texture of the canvas, its why I chose to use it

Great pic to show the texture 

Once placed the flowers, hear and butterfly were also sealed with the Gloss Medium

Brusho's give such a vibrancy

Whisper Betty

I left the brush strokes when sealing with the Gloss Medium to add texture, and its quicker lol

They will kill me but here it is on the fridge!  The pic is of my twins, about 3 yrs ago!!! They're 15 now lol
  Thank you so much for stopping by and please don't forget to check out the main blog for the rest of the teams new release makes, they really are uber talented :D
Here's the links again:
That Craft Place Challenge Blog


Don't forget...this is 1 of 4 posts today!  Press home and then scroll down and up to check out the others :D

Happy Crafting :D

Sandie xxx

Challenges:
Lil patch of crafty friends - #5AG
Glitter and Sparkle - #126 AG
Not Just Cards - #13 AG
Tuesday Throwdown #233 AG
Inspiration destination - #22 AG
Creative Fingers - #69 AG
Scribble and Scrap - #39 AG
613 Ave Create - #113 AG

Friday, 27 February 2015

Presenting...Queen of Hearts

Hello again,

So happy to be showcasing this new release by Slinky Tart, Art by Tamara.  I had great fun trying out different hair combo's on this one but don't ask me which ones, because I got totally confused lol

Here she is:
A hand of cards just had to be done! lol

Now you see why I got all confused with the colour combo's!

Paper matched insert lining finishes off the design (Top Tip)

Phew!  It may have taken ages to get the colouring done but I am so happy with the finished look :D

Here's what I used and the how's:
Image: Queen of Hearts By Slinky Tart
Cardstock: 300gsm super smooth card for copics, black and red cardstock matted to create the backing; That Craft Place
She is coloured with Copic's 4 times!  Although I did know how I wanted to layer them so I cheated and only coloured what I needed too on the lower 3!
The sentiment was my own creation made on the pc and printed, matted and layered.
I added multi layered punched hearts to add a little extra detail and then lace and pearls seemed a must for the Queen of Hearts :D

Here's the close-ups:


Don't forget...to check out the Slinky Tart Blog for more showcased designs from the rest of the team and stop by the shop by pressing HERE

Thank you so much for stopping by and please don't forget to follow my little blog for regular crafty inspiration xxx

Happy Crafting :D

Sandie xxx

Challenges:
Lil Patch of crafty friends - #4AG
Fitztown challenges - Feb take hearts
Crafting from the heart - #48 AG
Not Just Cards = #13 AG
Craft your passion - #250 AG
Buckwells Crafty Challenge - Feb love/Hearts
Crafting for all seasons - #96 dies or punches
Inspiration destination - #22 AG
Great Impressions Stamps - Feb love love love
Art by MiRan - #26 AG

Tuesday, 18 November 2014

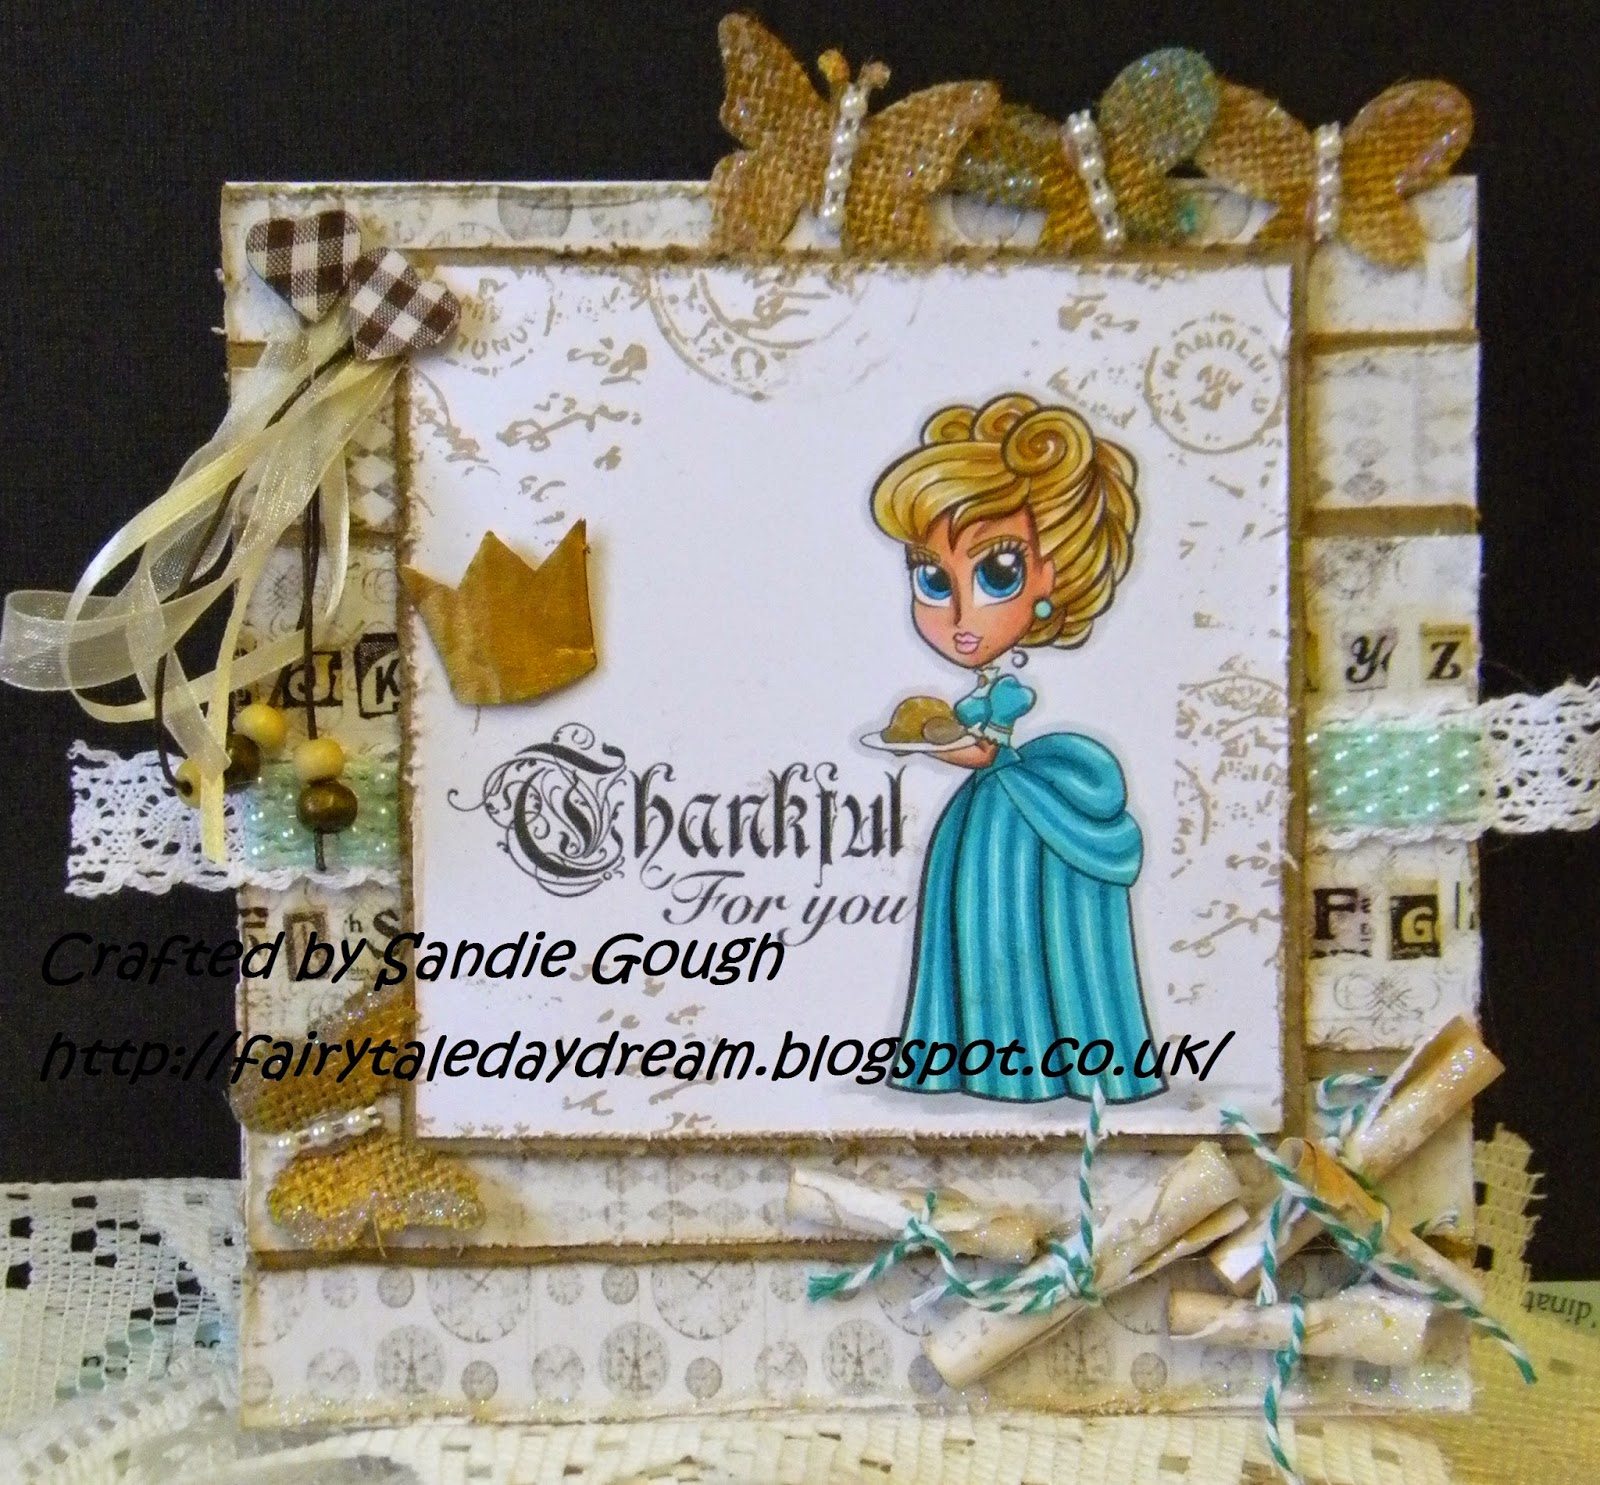
Thankful thoughts xxx

Hello Again,

A not for any reason post from me today.  Betty from Simply B Stamps facebook group offered a free digi stamp for Thanks Giving and challenged everyone in the group to make a card using the digi...the only condition was that there had to be pleats in her dress!

Eeeek!  I haven't done the clothing class yet with Kit and Clowder under Alyce's expert guidance but in my new spirit of 'just go for it' here is my interpretation...


I am pleased with the outcome so I really hope you like it xxx

Here's what I used to make it:
Image: Thankful freebie from Simply B Stamps (you must register to access the store) via her facebook group that can be joined HERE and if you haven't had a peek, join!  Lots of fun and great makes.  I have coloured her with my Graph'it Marker pens
Background: Just for Men Collection from Michele R Designs (gorgeous papers and so versitile).  Insert was stamped to match (masking the centre so there is room to write)
Embellies: Dutch Doobadoo crown from That Craft Place; Pearl string from Hobby House and the rest is from my stash.
Added Glamour Dust glitter adds a touch of sparkle to the butterflies and the hand rolled paper scrolls, oh and a bit on the edge too!

Here's the close ups:


Thank you so much for visiting and please leave a comment before you go as I do really appreciate your comments :D  Please also click to follow me so I can grow my numbers xxx

Happy Crafting :D

Sandie xxx

Challenges:
Fitztown Challenge - 62 AG
Craft you passion - 240 pumkin or turkey - Turkey x
The Sisterhood of Crafters - 12/11 Thankful
Zuri Artsy Craft challenge - 4 Thank you
Brown Sugar Challenge - 120 AG
Great Impressions - November Thankful thoughts
Scribble and Scrap - 31 AG